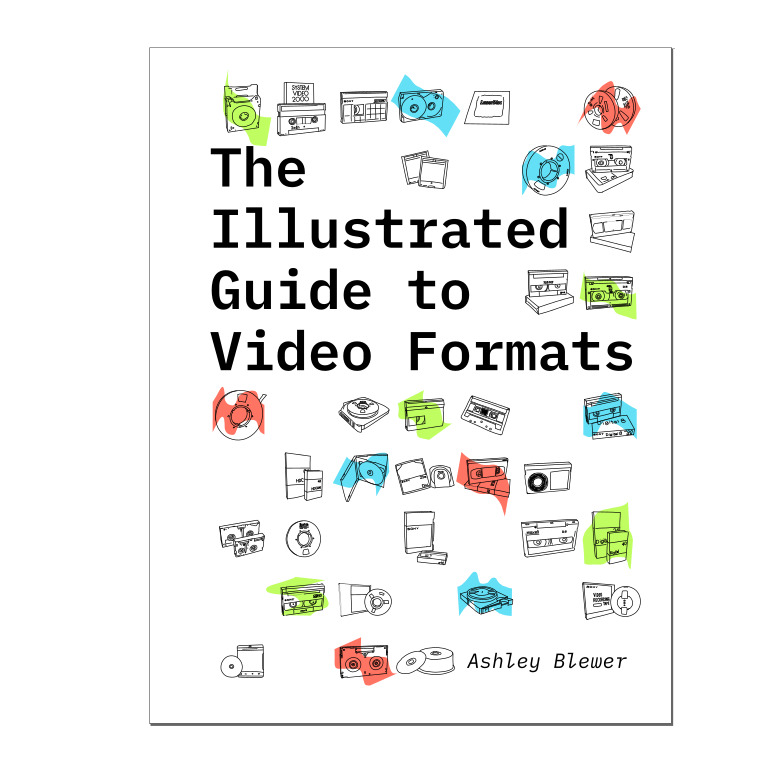
Using open source software to create and assemble a book
20 Jun 2022This is a quick blog post about how I’ve been making my book, how I was able to use open source software throughout the process, and a few lessons that I learned.
I’ve been exclusively using Linux as an operating system for the past 4 years. Linux distros, however, are not especially known for their attention to visual design. (If you are looking for that, though, I recommend ElementaryOS! I ended up having some hardware compatibility issues when I tried it out, but only for reasonable reasons of newer hardware and an older linux base – should be corrected now.)
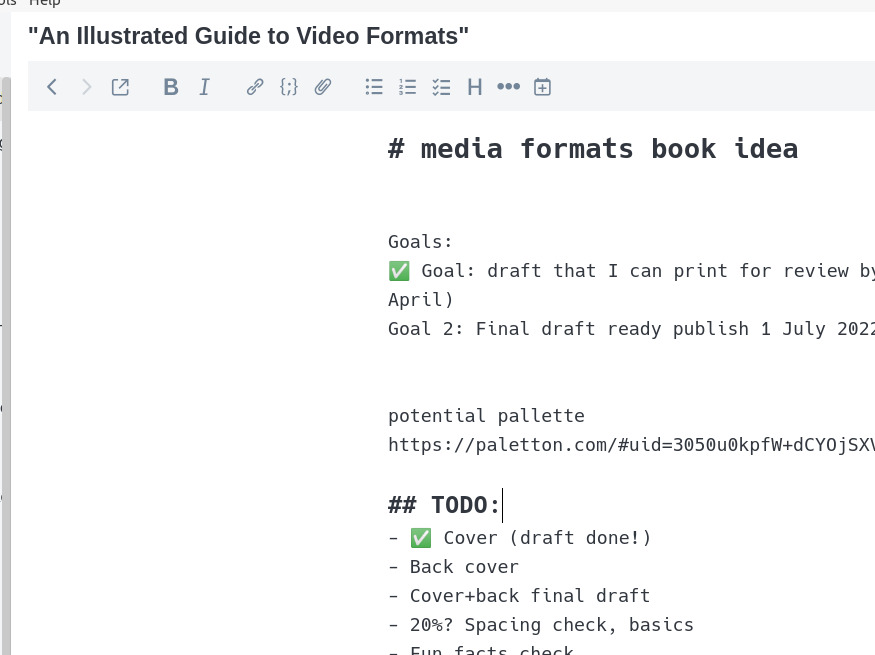
Joplin - Thinking
I started thinking about this plan with pen-and-paper, and then moved to my note-taking app. I use Joplin, which syncs between my personal and work laptop and my phone via their Dropbox integration. It can be a little bit fussy, but it works where it matters: syncing properly and letting me work/think in Markdown.
Lesson learned:
Joplin was good at thinking through what were the most important properties and gathering facts and saving random websites with historical information, but I’m now retroactively moving this data into a spreadsheet, which is easier to manage and quickly compare formats. I’ll do that moving forward, assuming I do tackle audio formats next, because I think the process will go much faster.
reMarkable - Drawing
The reMarkable2 has been a complete paper replacement for me. Instead of doing things like I used to, which was pull up the brightness to the max on my computer screen, putting tracing paper on top, and then tracing-drawing something, it was much easier for me to send a few source photos to my reMarkable, do the tracing directly on top as a new layer, and send them all back to my computer (for handiness, I use Google Drive as the integrated bridge, but I could have gone directly using wireless or even a cable).
Lesson learned: Doing a rough layout and zooming in was easier than doing each illustration, one-by-one. I’ll eventually have to move each illustration into their own file for making available online later, but starting with all of the illustrations on one page-spread per format was the way to go. (I learned this lesson very early on)
Inkscape - Digital illustration cleanup and layout creation
After creating illustrations, they had to be cleaned up quite a bit. For that, I used Inkscape.
There were definitely moments where I didn’t think I could do it. I was raised on Adobe Illustrator (and InDesign and Photoshop). But everything I needed from Illustrator, I managed to find within Inkscape. I felt frustrated at first because my keyboard shortcuts were different, but I got into a productive flow pretty easily. There is a little bit of bugginess with accidental stretching of rectangular boxes and sometimes the text would font-drop (while working on it, not while saving the files). It’s annoying, but not as annoying as having to re-learn how to use macOS and and buy a Adobe Illustrator subscription.
For taking the illustrations and moving them into appropriate layouts, adding text and styling, and everything else – I also used Inkscape.
Lesson learned: Part of my thinking process involved trying different layouts, designs, sizes, etc. However, I wish I had gotten to a rough draft of just a few formats, really finalized them, and then moved to the rest instead of dealing with the clean-up mess I have now around making sure every box is perfectly shaped and aligned on a grid.
SVG to PDF
Here’s the few loosey-goosy scripts I use just to get myself something that I can take to the printer and have them print out a draft for me. This let me see if my sizing estimates were correct (font size, spacing, et al) and write notes/corrections using pen and paper.
Convert SVGs to PDF:
In the SVG folder, with SVGs in order by filename:
for i in *.svg;do rsvg-convert -f pdf -o ../pdfs/${i%.*}.pdf $i;done
Lesson learned This was working great for me up until I realized that this was not retaining my document properties. When printing and fitting things to page just for test prints, this was working okay. But when I started to get ready to make something that was actually fit to send to a printer, I realized the sizing was no longer the 8.5x11 that I had set up. Annoying! I switched to using inkscape on the command line to bulk convert from Inkscape SVGs to PDF, and this helped retain the document properties I needed.
for i in *.svg;do inkscape ${i} --export-type=pdf --export-filename=../pdfs/${i%.*}.pdf;done
Assembly
I use this little library of Python scripts, [pdfrw](https://github.com/pmaupin/pdfrw), to bring all of the pieces together. I’m working with 11x17 spreads, so I have to bring them all together, “unspread” them to cut the PDFs in half, and concatenate them again.
These are my rough notes:
- 0 cat
python3 examples/cat.py (path to all pdfs)
Lesson learned: Using zsh, you can type path/* and then tab and it’ll autofill with everything in the folder. Nice!
- 1 unspread
python3 examples/unspread.py (path to the file cat.py made)
- 2 cat again
python3 examples/cat.py draft.pdf (path to unspread.cat.pdf)
- 3 booklet
python3 examples/unspread.py cat.draft.pdf
(or whatever the name is)
(no -p necessary)
Lesson learned: Not sure about whether the extra -p is necessarily, it depends on the original total. This makes my head hurt to think about even though I do have experience doing this kind of layout control.
final is booklet.cat.draft.pdf!
The pages should be staggered in a way that makes sense for double-side printing at the local print shop (for me, the UPS store).
For printing:
- 11x17 ledger size
- orientation: landscape
- print: double-sided (NOT tumble)
Lesson learned: Because the UPS store has a weird layout app, I accidentally printed my first draft as “tumble style” which made things upside down even when they didn’t look upside down on the screen. I spent a lot of time holding my hands in front of my face pretending that they were different book pages to figure out what I needed to do correctly.
This approximately works for a printed-out draft of what the book will look like. It costed me something like $13 to print these, which is funny because on-demand printing with a binding and cover and everything is under $3. This helps give me an understanding of how much I should charge for my book, because even if I put the entire thing online for free, it’s still annoying and costly to do a one-off local-corporate-print-shop press, and it just looks like a mess of jumbled papers instead of something nicely bound
I ended up using a similar and more-simple process to get the book printed as a single PDF with the main content as well as the extra front and back pages required to look like a normal book, and that’s what I end up sending to a publisher-printer (aka a print on demand service).
Speaking of printing, if you’re wondering about how that works, I’ll be following up later in a future blog post because I want to fully know what I am going with before I say more!